install.packages("usethis")How to use RStudio during this course
resource
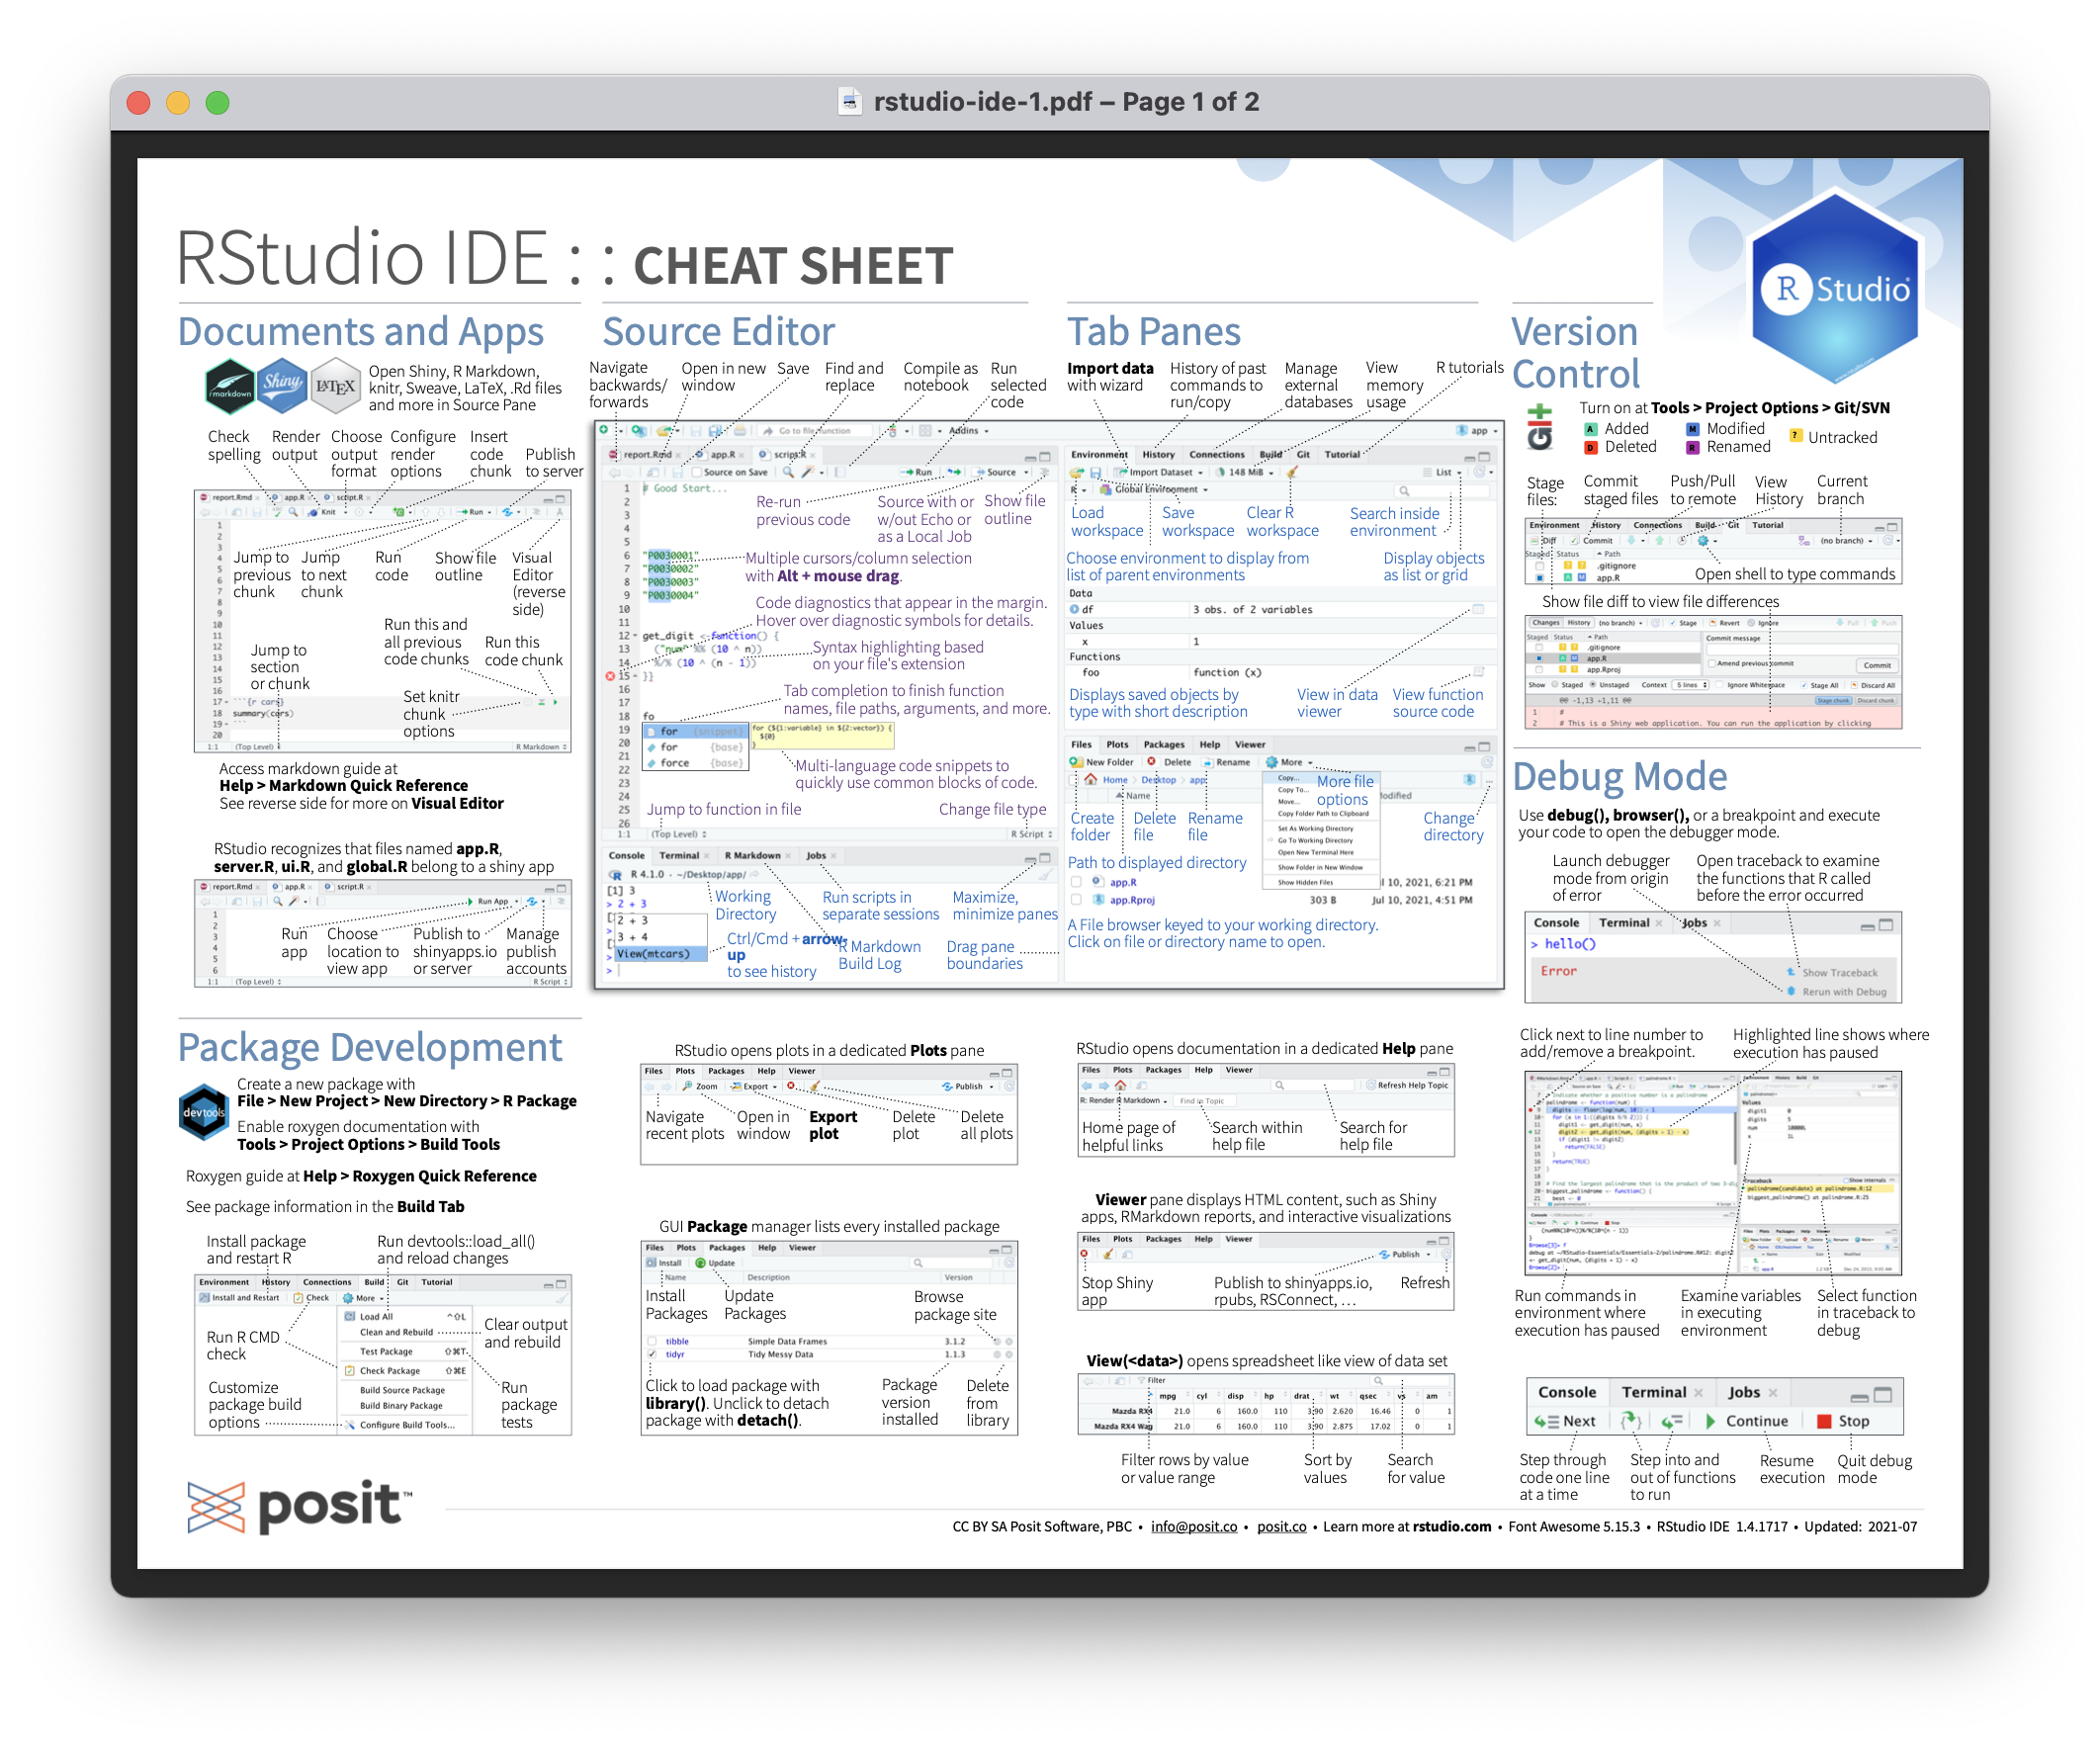
In this class, students will use the RStudio IDE to write and excecute R code, manage projects, and interact with GitHub. This guide provides instructions on how to use RStudio to complete some common tasks.
Setting up a new project and adding it to the course GitHub organization
Create a new project
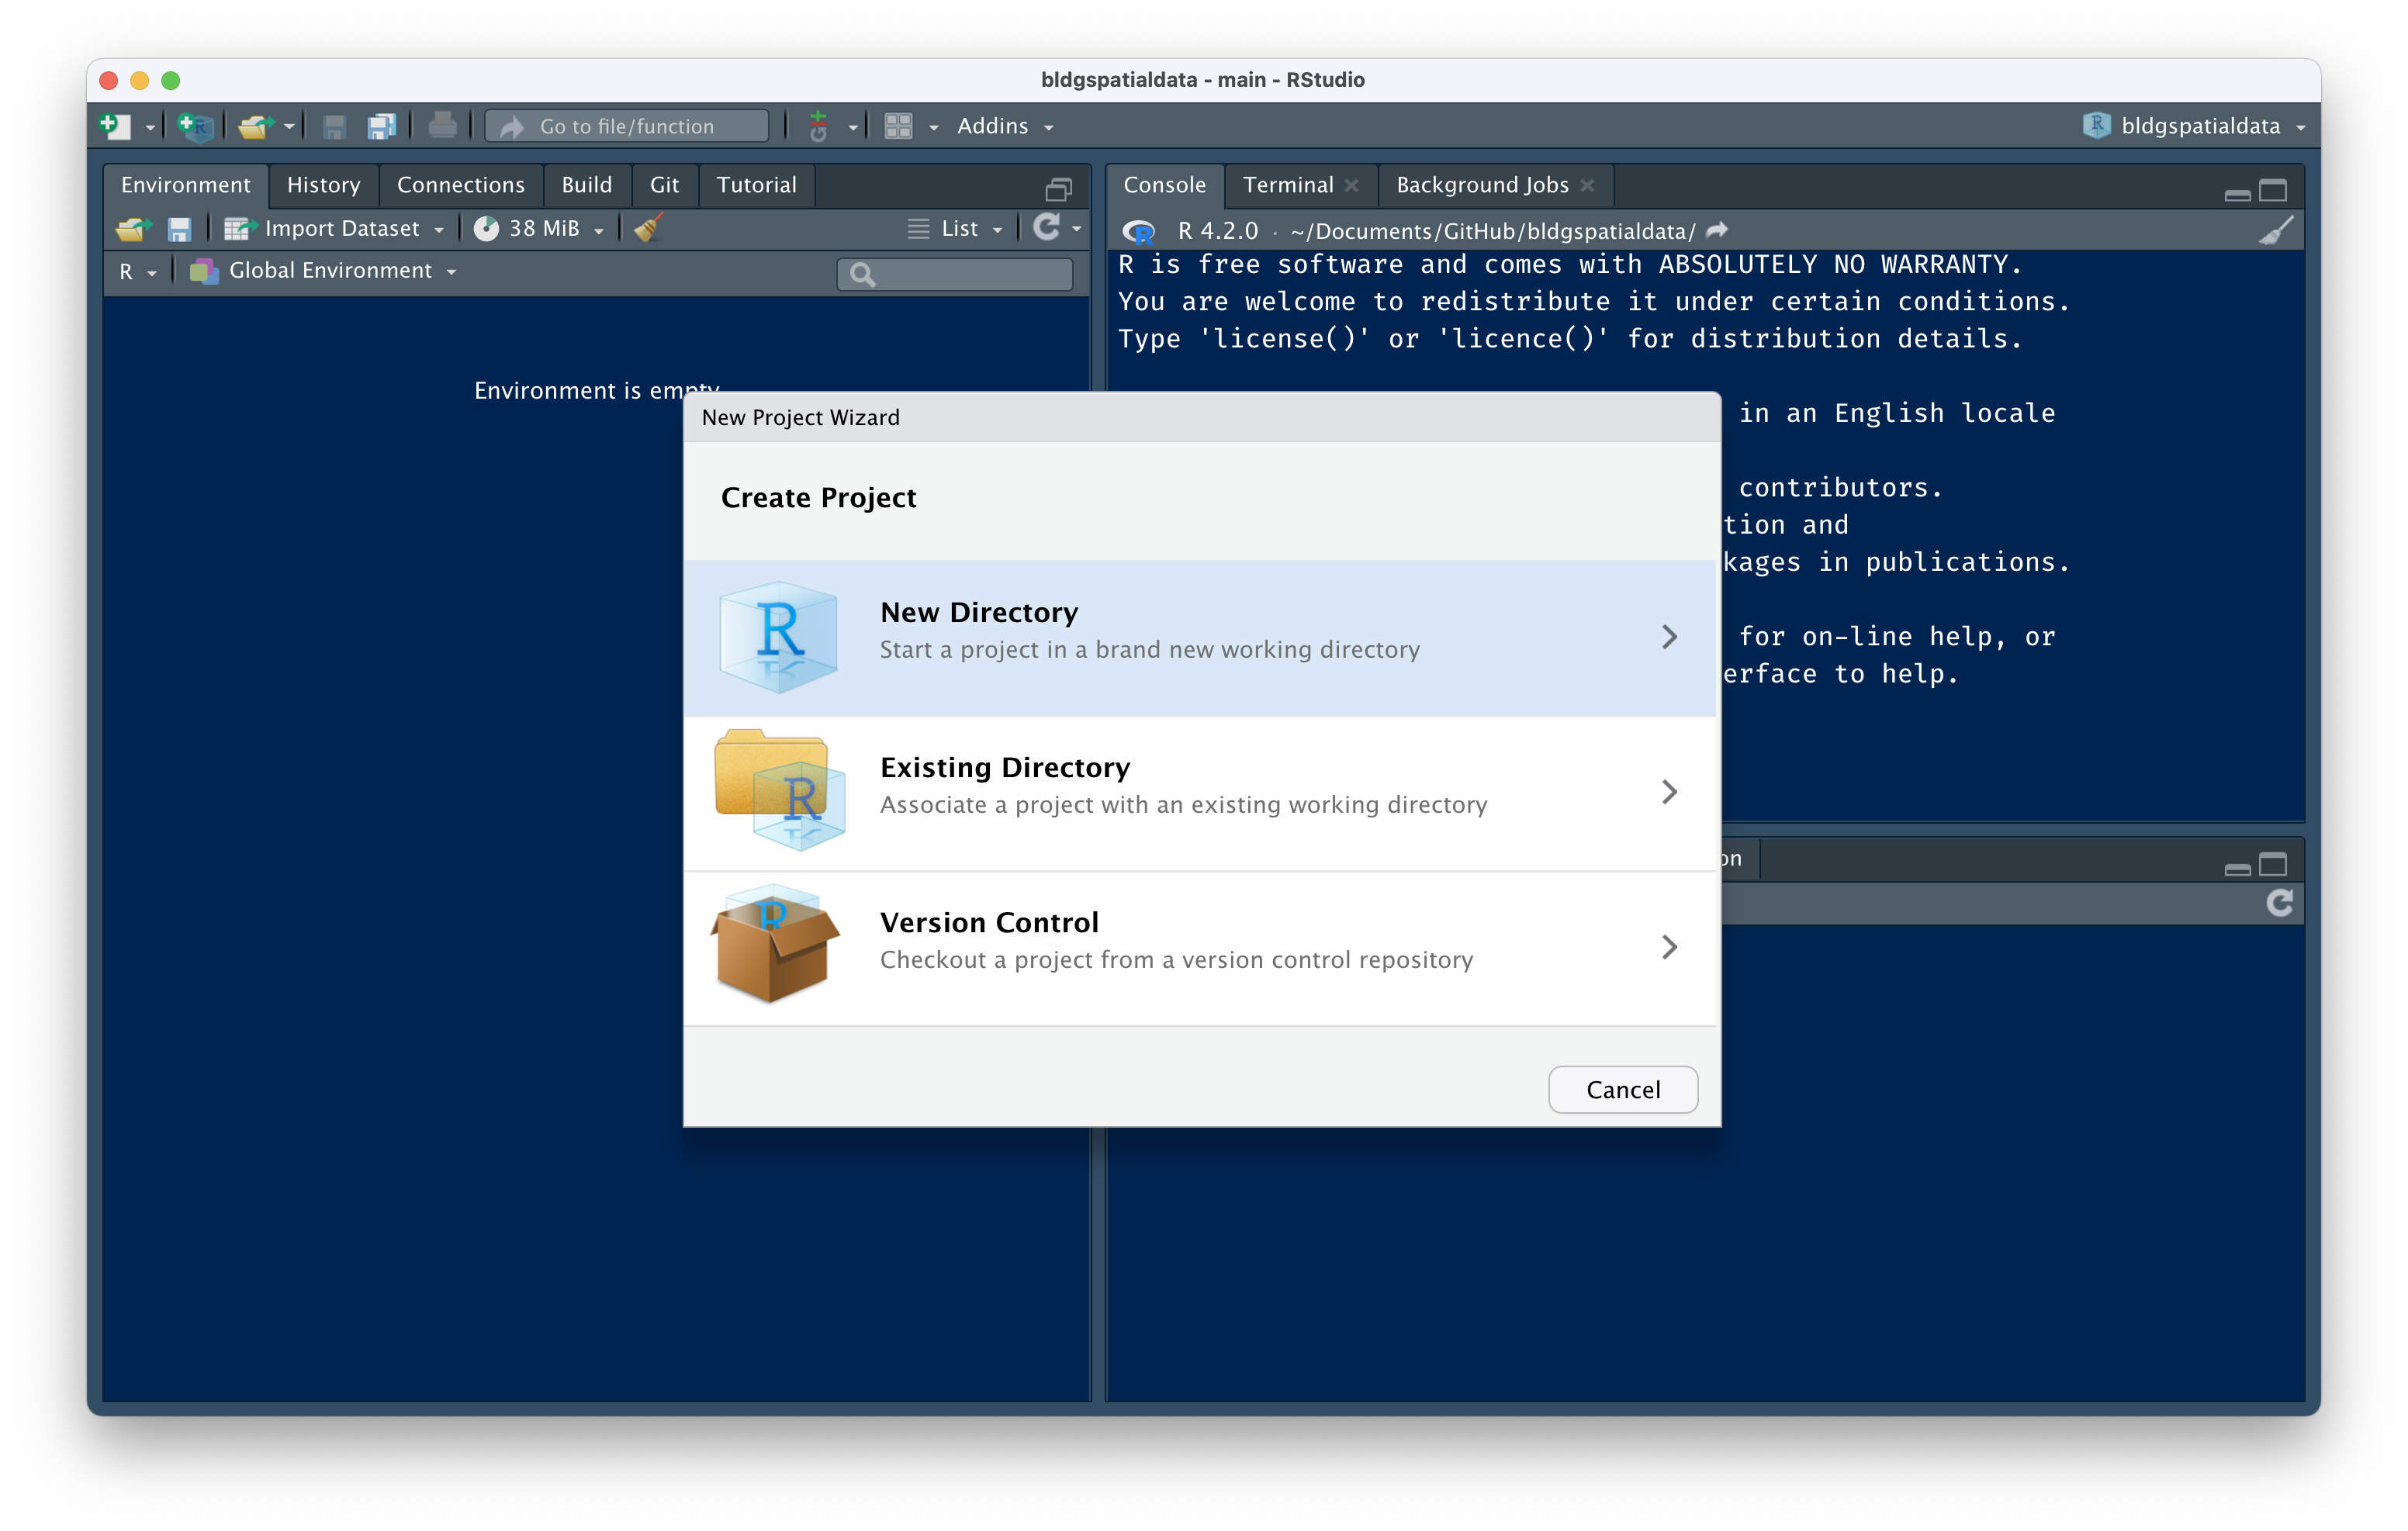
Go to File > New Project… and select New Project.
Using the “New Project Wizard” select “New Directory” and then select a project type. For the final project, I recommend students select “Quarto Project” unless we have discussed a different approach.
Installing Quarto
If “Quarto Project” is not an available option, you likely have not installed Quarto. You should quit RStudio, download and install Quarto, then re-open RStudio and start again.
Fill in the directory name with a short descriptive project name, e.g. “explorebaltimorebirds”.
Make sure to avoid using any spaces in your project name. Your project name is also going to be the name used for your project repository.
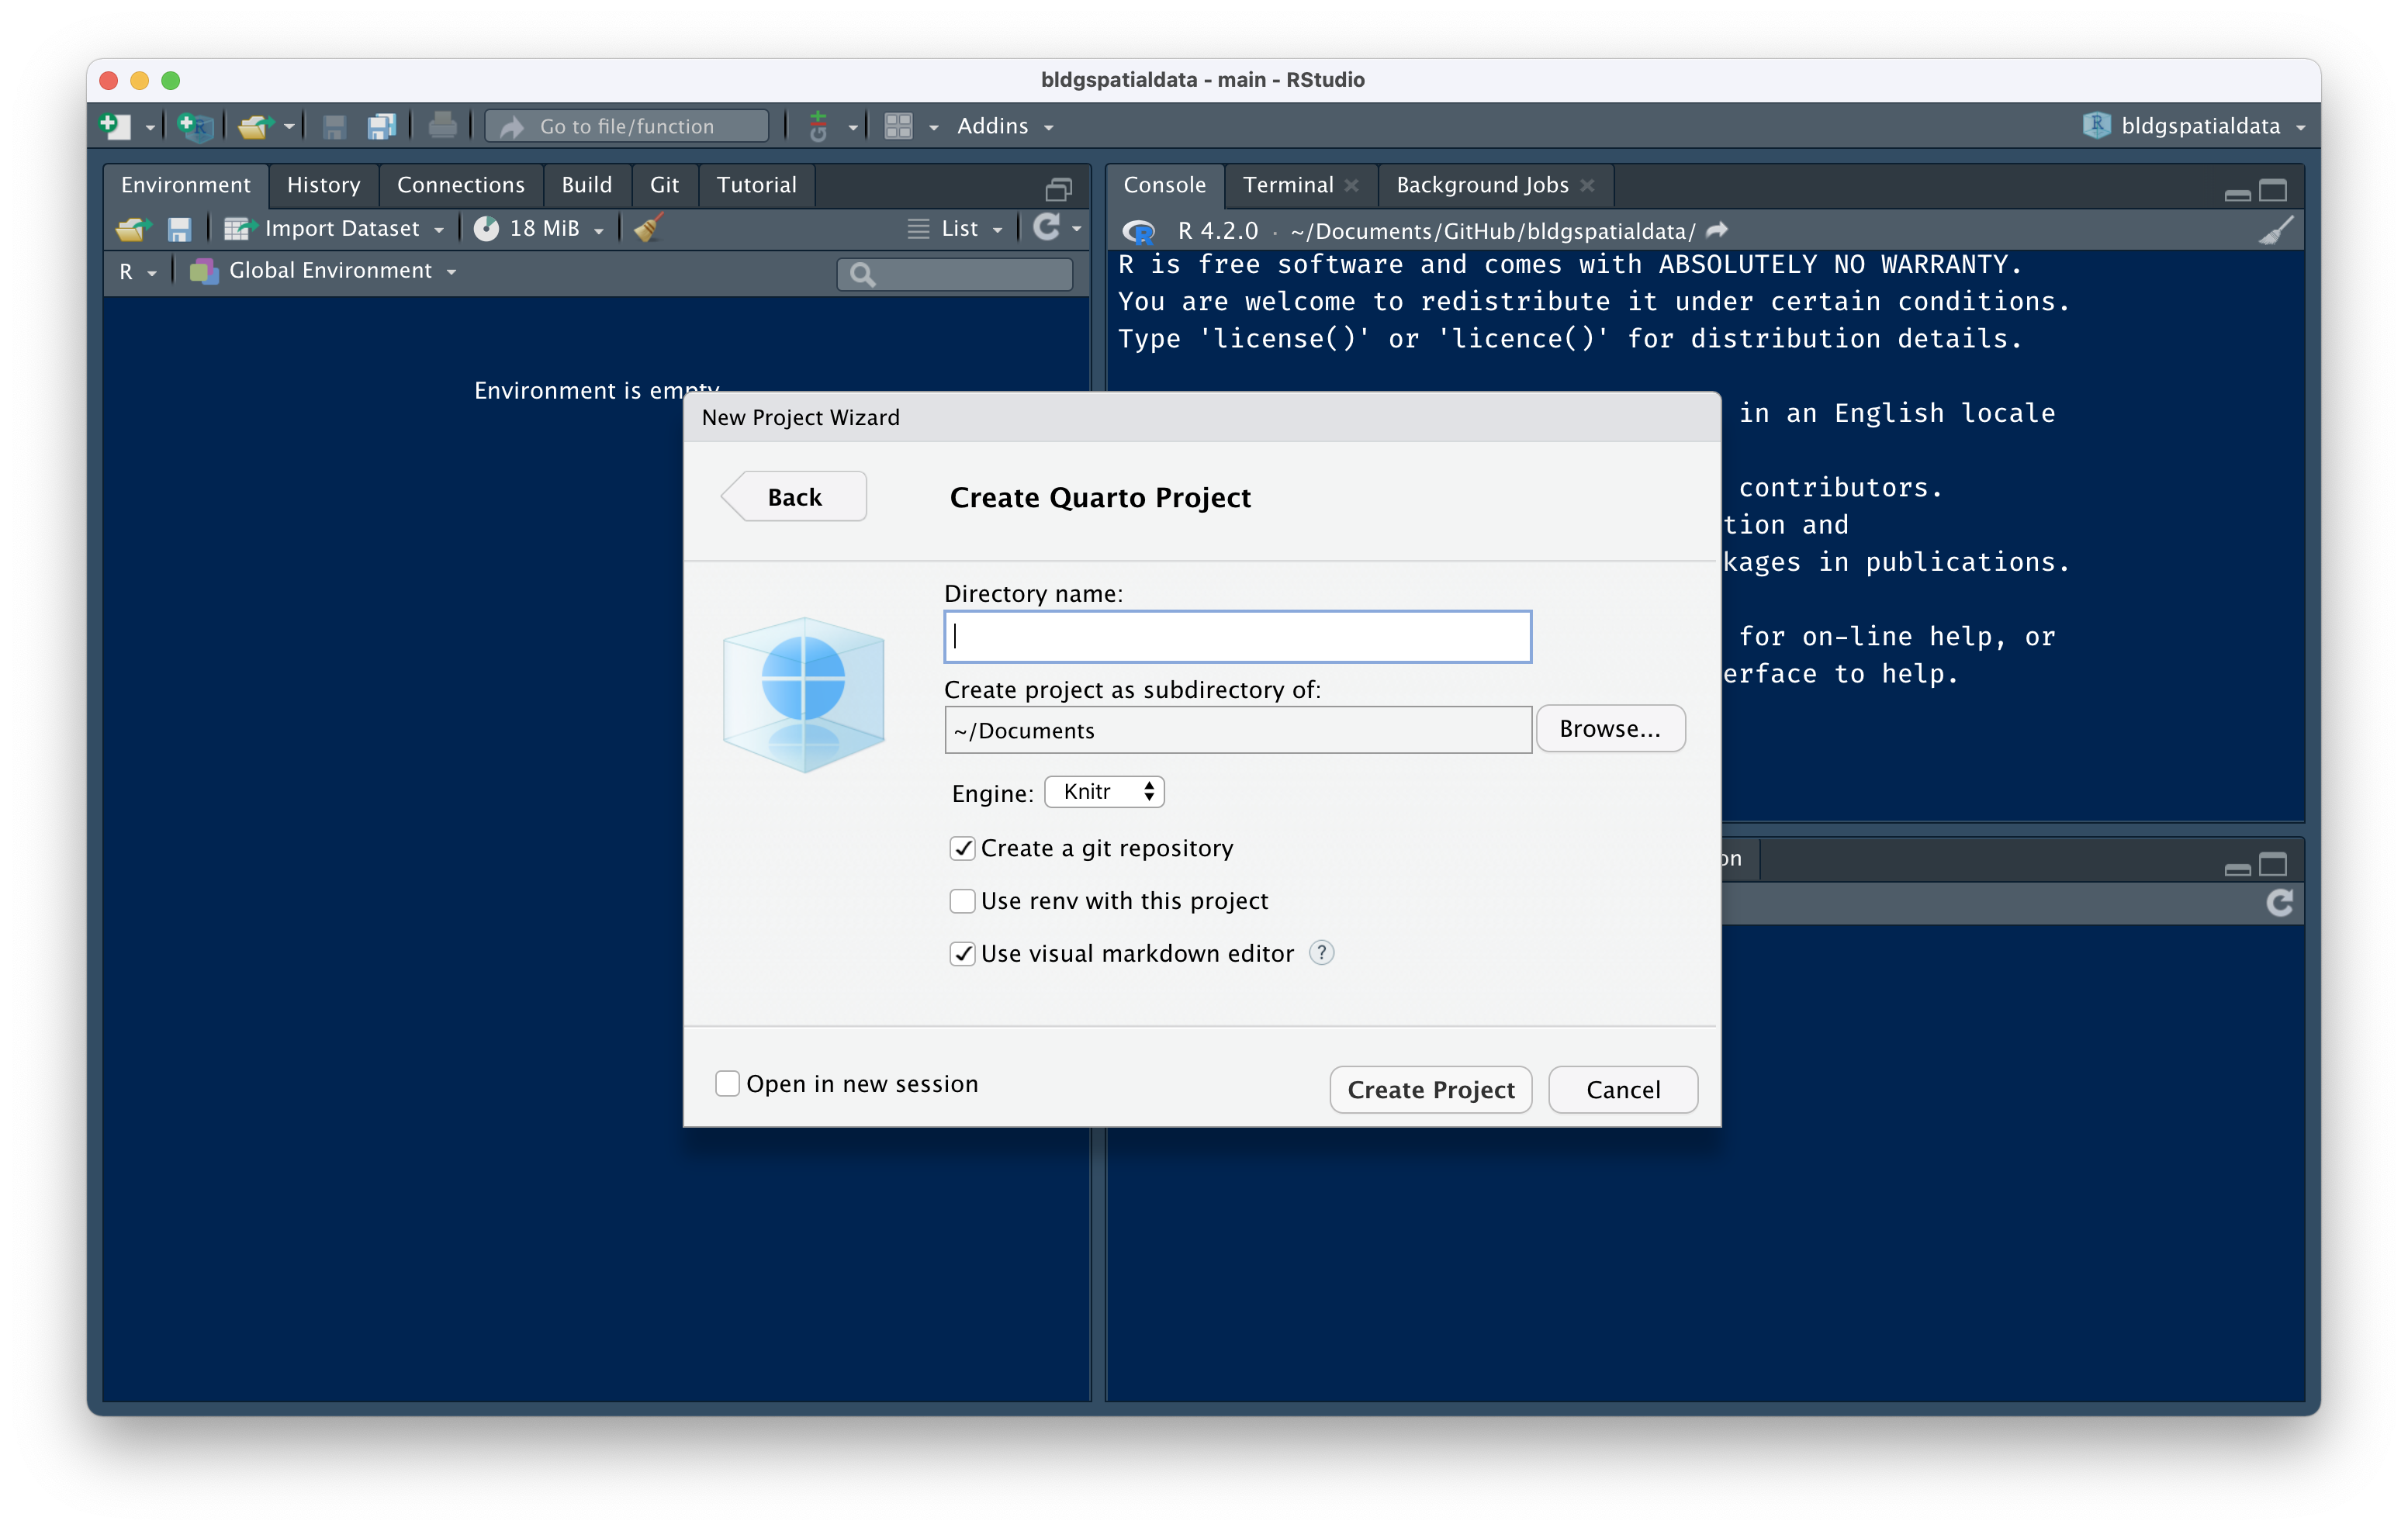
Your new project should open in the RStudio IDE.
Connect your new project to GitHub
The following functions can be run directly in the Console pane—you don’t need to save them in an R script or document.
Install the usethis package then restart R. If you already have the use this package installed you can skip this step.
Load the usethis package.
Use the git_sitrep() function to check that you have GitHub set up correctly.
If you see any error messages, review the instructions from Happy Git and GitHub for the useR on getting started with Git or connecting your GitHub account to RStudio.
Make your first commit to set up the project using the use_git() function.
use_git(message = "Create new project")If this works, the results in your console should look something like this:
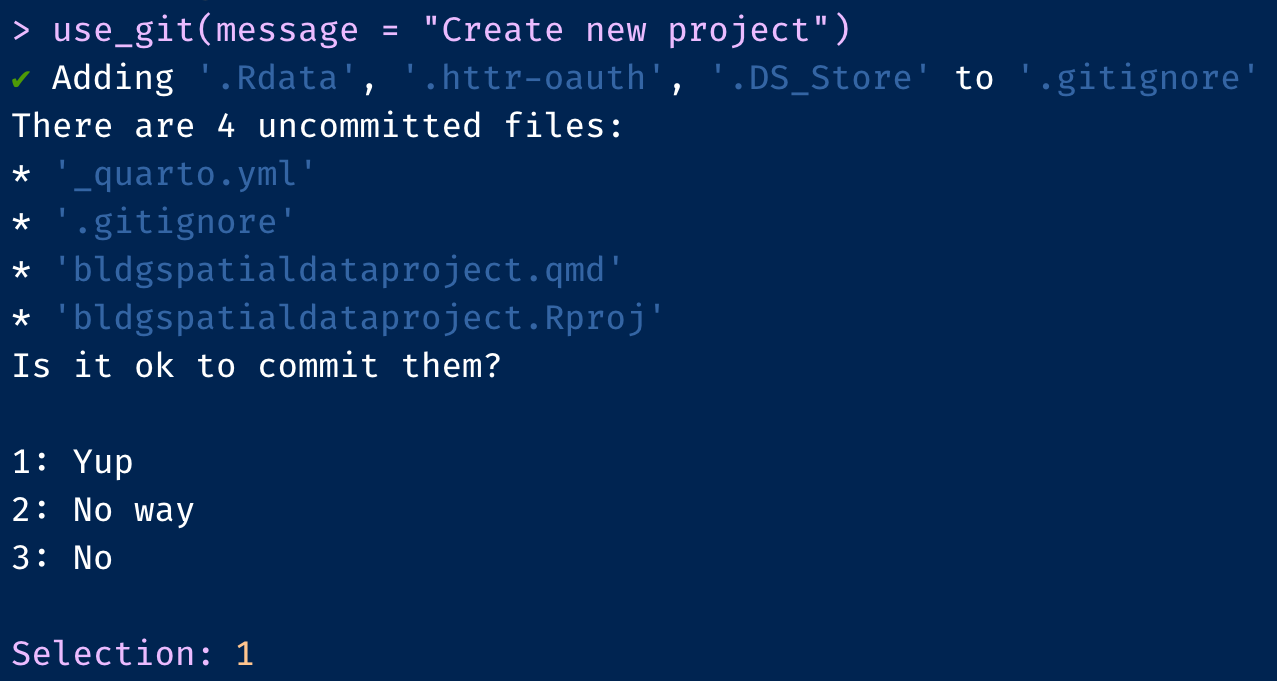
Confirm in your console that is OK to commit the files.
Add your local Git repository to the class GitHub organization by filling in the organization parameter for use_github().
use_github(organisation = "bldgspatialdata22")If this works, the results in your console should look something like this:

The repository is public by default. If you want to create a private repository which would not be visible to the public or to other students, set private = TRUE.
use_github(organisation = "bldgspatialdata22", private = TRUE)If you have multiple GitHub accounts, make sure you use the same GitHub account that belongs to the course organization. Make sure you accepted the invitation to join the course organization. If you are not able to set up a new project, message Eli on Discord to double-check your permissions and send a new invitation to join the course repository if needed.
You can now add your project proposal and other files to the repository. Make sure to commit any changes to the repository using the Git pane within RStudio or using GitHub Desktop or another desktop application that works with GitHub.
Add a README and a license to your project
Add a README to your project. Use the use_readme_rmd() function to create creating a README with RMarkdown.
Updating your README
Creating a README with RMarkdown allows you to include executable code chunks in your README. You should render your README as a GitHub format Markdown file with knitr::knit("README.Rmd") (or devtools::build_readme() if your project is an R package) any time you make changes.
Select a license and add it to your project using any of the license functions from usethis.
use_mit_license("Your Name Here")

use_cc0_license()

use_gpl3_license()

use_ccby_license()
Selecting a license
The MIT license is common license for many R packages and other open-source projects. Open data is often published using a Creative Commons Zero (CC0) or “No Rights Reserved” license. The GNU General Public License (GPL3), Creative Commons Attribution (CC-BY) license (or Creative Commons Attribution-ShareAlike (CC-BY-SA) are other options you could consider.
Using licensed works by others
If you are using or adapting code or data from other projects, make sure you credit those projects on your README and clarify the the project repository includes material available under a different license than the license you selected for your own work. In some cases you may be required to use a specific license, such as GPL or CC-BY-SA, if you are making substantial use of an existing work published under that license.
See the Licensing chapter from R Packages by Hadley Wickham, the choosealicense.com website from GitHub, or this guide on Considerations for licensors from Creative Commons more detailed guidance on this topic.
Adding and organizing files within a project
Adding new files to your project
Using the File > New File > ... menu option you can create a files including Quarto documents and presentations, RMarkdown documents, R scripts, plain Markdown files, and many others.
Once you create the file you will want to save the file within your project folder or subfolders. There are different ways of organizing an RStudio project depending on whether you are creating a website, a blog, an R package, or something different. Continue on to the next “how to” for more information on organizing files within a project.
Organizing files for data analysis projects
There are some common conventions that people who use R have adopted to make file organization more predictable and easy to understand. Some of these conventions are based on the requirements for creating R packages which is one approach that is used for sharing data or interactive applications.
Common folders that are also used in R packages include:
- data: for data used in your analysis or visualization
- R: for any R scripts used in your analysis or project.
Other common folder for data analysis projects include:
- ouput: for PDFs, Word documents, or images files created as the result of an analysis script
The use_r() function is a convenient way to create an R folder and a script.
use_r("your-script-name")Review the Ch. 4 Efficient workflow in Gillespie and Lovelace (2021) for a more general overview of project planning with R.
Organizing files for Quarto websites or blogs
Important
This section of the guide is coming soon! Check out the Quarto guide to creating a website for more information and look out for updates.
Formatting your R code and RMarkdown and Quarto documents
Use the tidyverse style guide
The tidyverse style guide is a helpful resource for learning more about code style. The guide recommends the styler package and the lintr package for performing automated checks on code style.
Tips for formatting R scripts
- Consolidate
library()calls at the top of your script or in a chunk labelled “setup” that you keep at the top of your document. - Avoid including
install.packages()or any other functions likeusethis::use_git()in your code or code chunks. These functions are designed to be run just once for your document, script, or project—not re-run every time the script is run or the document is knit or rendered. - Never include API keys or other “secrets” in your code. Many packages that rely on an API key to access data have functions (e.g.
tidycensus::census_api_key()ormapboxapi::mb_access_token()) that let you save the key or token locally and retrieve the key from a profile file that is never part of your repository. - If you have the styler package installed, you can use the Addins drop-down in RStudio to run the Style active file command (or run
styler:::style_active_file()in the Console pane) and format your code anytime you finish a work session. - When writing a comment in an R script or code chunk, keep a space between the comment character and the comment, e.g.
# Correctly formatted commentvs.#Incorrectly formatted comment. - Code with shorter lines is easier to read and understand. When you have a function with a large number of parameters, consider putting each parameter on a separate line.
Tips for formatting RMarkdown and Quarto documents
- When you include code (like a function name or list of parameters) in the text of your document wrap the code in back ticks
``(in the Source view) or select Format > Code (in the Visual view) to apply appropriate formatting. - When using comments within a code chunk or cell, focus on explaining the why of your code—not what results you get. Any summary or interpretation of your results should appear in the text before or after your code chunks not within the chunk itself. You can also use a table or plot function to show the output on execution.
- Always include a space between a heading tag and the heading text, , e.g.
## Correct Heading Formattingvs.##Incorrect Heading Formatting.
References
Gillespie, Colin, and Robin Lovelace. 2021. Efficient R Programming. O’Reilly Media. https://csgillespie.github.io/efficientR/.